
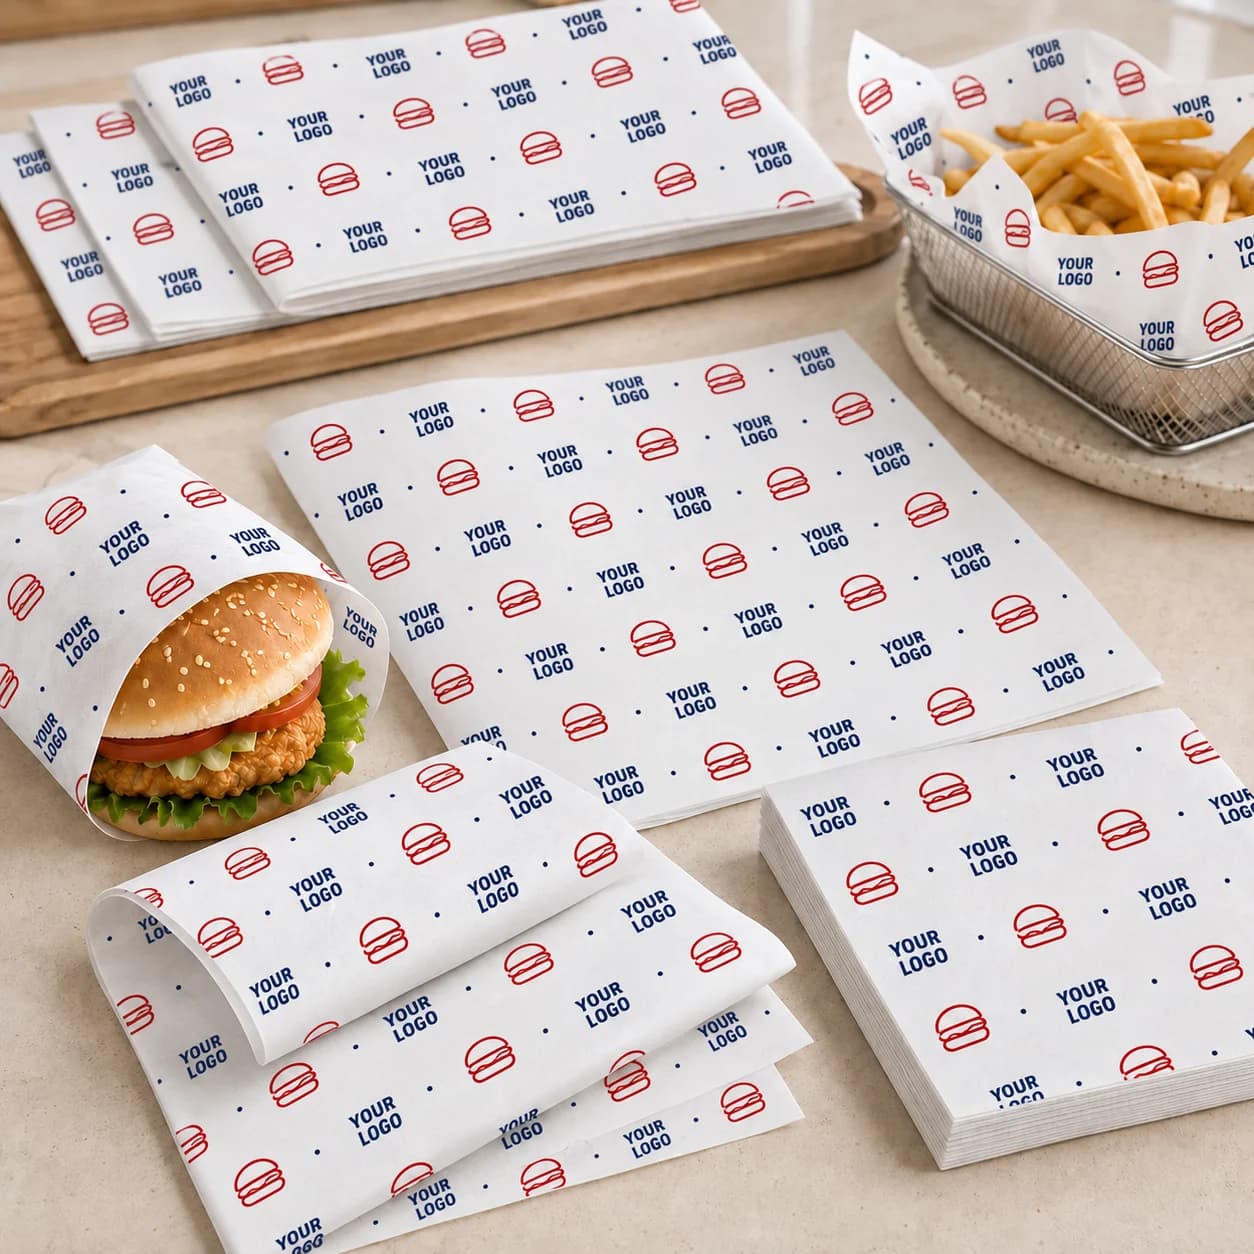
For a burger shop or sandwich chain, a printed wrapper and a packaging label may arrive as two separate purchases but meet at the same packing station. The paper must fit the food and fold; the label may identify the menu item, carry a brand mark or help hold an approved overlap. Ordering both from a flat artwork proof can leave staff with a correct-looking wrapper and a label that lifts, hides the logo or arrives in the wrong quantity.
This guide is for buyers planning the wrapper-and-label combination across one or more menu items. It does not replace the paper selection, sheet-size or label-construction decisions. Use the burger paper size and printing guide or the sandwich paper mixed-menu guide to approve each wrap. Use the custom packaging stickers and labels page to specify an individual label. Bring the approved parts together here before a multi-item order or rollout.
Decide what each component does
Choose the wrapping format first. A flat burger wrapping paper sheet may fully enclose a burger, partly wrap it or line a serving container. A flat sandwich wrapping paper sheet may enclose a whole sandwich or a cut arrangement. A formed sandwich paper bag is another product with an opening and internal capacity; it should not be listed as a wrapping-sheet size.
Then give the label one clear job for each menu group:
| Label job | What the buyer should specify | What to test on the finished pack |
|---|---|---|
| Brand identification | Visible placement, artwork and finished label size | Whether the mark remains visible when the pack is held or placed in a bag |
| Menu identification | Item name or version, required readable area and who applies the label | Whether staff can distinguish variants after wrapping and during handover |
| Fold retention | The exact paper overlap and both surfaces the adhesive touches | Whether the approved fold stays in place through the normal journey and opens as intended |
One label may do more than one job, but approve those jobs on the same completed pack. A sticker cannot make an undersized sheet cover exposed food, and an ordinary closure label does not automatically provide evidence of tampering. If evidence of opening is required, state the desired result and test all relevant opening routes rather than assuming it follows from a sticker across one seam.
Build one pack for each meaningful menu group
Begin with finished food, not an empty sheet. Include the largest normal filling or tallest sandwich assigned to the wrapper, as well as a smaller item that could produce excessive folds. Follow the actual counter sequence: pick up the sheet, place the food, fold it, apply the label, place the result in any outer bag or box and hand it over. Photograph the pack from the customer-facing side and from the closing seam.
Mark the wrapper's visible panel, overlap and label position on those photographs. A logo centered on a flat sheet can disappear underneath the food or inside a fold. A fixed label position may be convenient for one menu item but cross a crease on another. Check the opened paper after a successful trial to transfer visible and hidden areas back to the artwork proof.
If several menu items share one sheet, record the fold for each group before assuming that they also share one label. A common label can be practical when the closing surface, placement and application conditions remain comparable. If one menu item needs a different label size or artwork, list it separately. Do not create extra paper or label versions solely because menu names differ; create them when the actual packing, identification or order split requires them.
Trial the label on the selected wrapper
The paper surface matters. A print finish, treatment, coating, texture or grease picked up during packing can change how a proposed label applies. State the paper route and which part of the wrap the adhesive will touch. A label that grips a dry board lid has not thereby been approved on a folded food wrapper.
Apply the proposed label at the point when staff normally would: before or after the food is wrapped, and before or after the paper becomes warm, oily or damp. Use the intended label face, adhesive and liner construction on the selected paper. Check the pack immediately if it leaves the counter at once, again at handover and after the intended holding or delivery period. Look separately for an opening seam, lifted label edge, paper tearing, rubbed print and a label that makes the pack awkward to open. These observations call for different changes. A stronger adhesive is not a substitute for correcting a short overlap or moving a label away from a raised fold.
If the label may touch food directly, identify that use and destination market. An exterior packaging label is not proof that its construction is suitable for direct food contact. Request the documents relevant to the final proposed materials and use; do not treat a generic material name as approval.
Match supply format to the packing station
For hand-applied labels, check how staff peel and position them during a busy period. Sheets may be convenient for a small set of menu versions; rolls may suit a dispenser or a repeated hand application. The choice is a workflow decision, not an automatic quality ranking. An automatic applicator or printer adds machine-specific requirements such as liner width, gap, roll core, unwind direction and print or sensor compatibility. Do not let those fields delay a hand-applied enquiry when no such equipment is involved.
Ask how the wrapping paper is packed as finished sheets: sheets per inner pack, packs per case, orientation when opened and identification of each artwork. Record label supply as finished labels per sheet or roll and the number of sheets or rolls. A case of wrappers and a roll of labels are not comparable units. If staff must find the right combination at several locations, both packages need clear version identification.
Order the matching quantities by menu version
Calculate from expected packed portions, then state the intended planning period and an allowance to be agreed for normal wastage or trial use. Keep the count for each printed wrapper design and each label design separate. One physical wrapper and one label per packed item is a planning assumption only when the approved packing method actually uses that pairing. Some packs use no label; another may need an item identifier on an outer box. Do not multiply everything by one common factor without checking the pack bill of materials.
| Planning line | Wrapper input | Label input | Why it stays separate |
|---|---|---|---|
| Menu group A | Approved sheet size and artwork A; expected packed portions | Label design A; one per approved pack if used | The paper and label can have different production minimums and case quantities |
| Menu group B | Same sheet or a separate approved size/artwork | Shared label or design B after trial | A shared sheet does not prove that identification or closure is the same |
| Trial and replenishment | Sampling and normal operating allowance | Allowance for application trials or replacement | A mismatch can stop the station even if one component remains in stock |
For illustration, if a location plans 2,000 approved packs using one label each, the working need is 2,000 finished wrappers and 2,000 finished labels before any separately agreed allowance. This is a counting example, not a minimum order quantity, fixed pack ratio or production promise. Request a quotation for each size and design with packing counts shown; the practical minimum and price are confirmed for the actual project.
Send a combined brief without waiting for every answer
A buyer can start with photographs of the finished food, the current wrap and the intended label placement. Add approximate quantities by menu group, the delivery country and the issue to solve. During sampling, complete this record:
- Food and service: representative menu groups, dimensions or photos, temperature, oil and moisture conditions, holding time and any outer container.
- Wrapper: finished sheet size, paper route to review, food-contact side, approved fold, visible print area, artwork version and packing orientation.
- Label: purpose, finished size and shape, artwork version, both contact surfaces, application sequence and sheet or roll supply. Add equipment details only where applicable.
- Combined trial: filled-pack photographs, seam and label position, immediate and later observations, customer opening action and any change to repeat.
- Order split: finished wrapper count and finished label count by size/design, inner and case packing, destination and documents to check for the selected construction.
Xucheng Packaging can review custom burger wrapping paper, sandwich wrapping paper and packaging stickers and labels against that brief. The wrapper provides food coverage; the label has its agreed identification or closure job. For a completed order that also needs carrying, choose an outer paper carry bag by its actual load rather than treating the sticker or wrapping sheet as the carry structure.
Discuss a custom wrapper-and-label project. In the enquiry, mention both the wrapper and label so the two components can be reviewed together.