
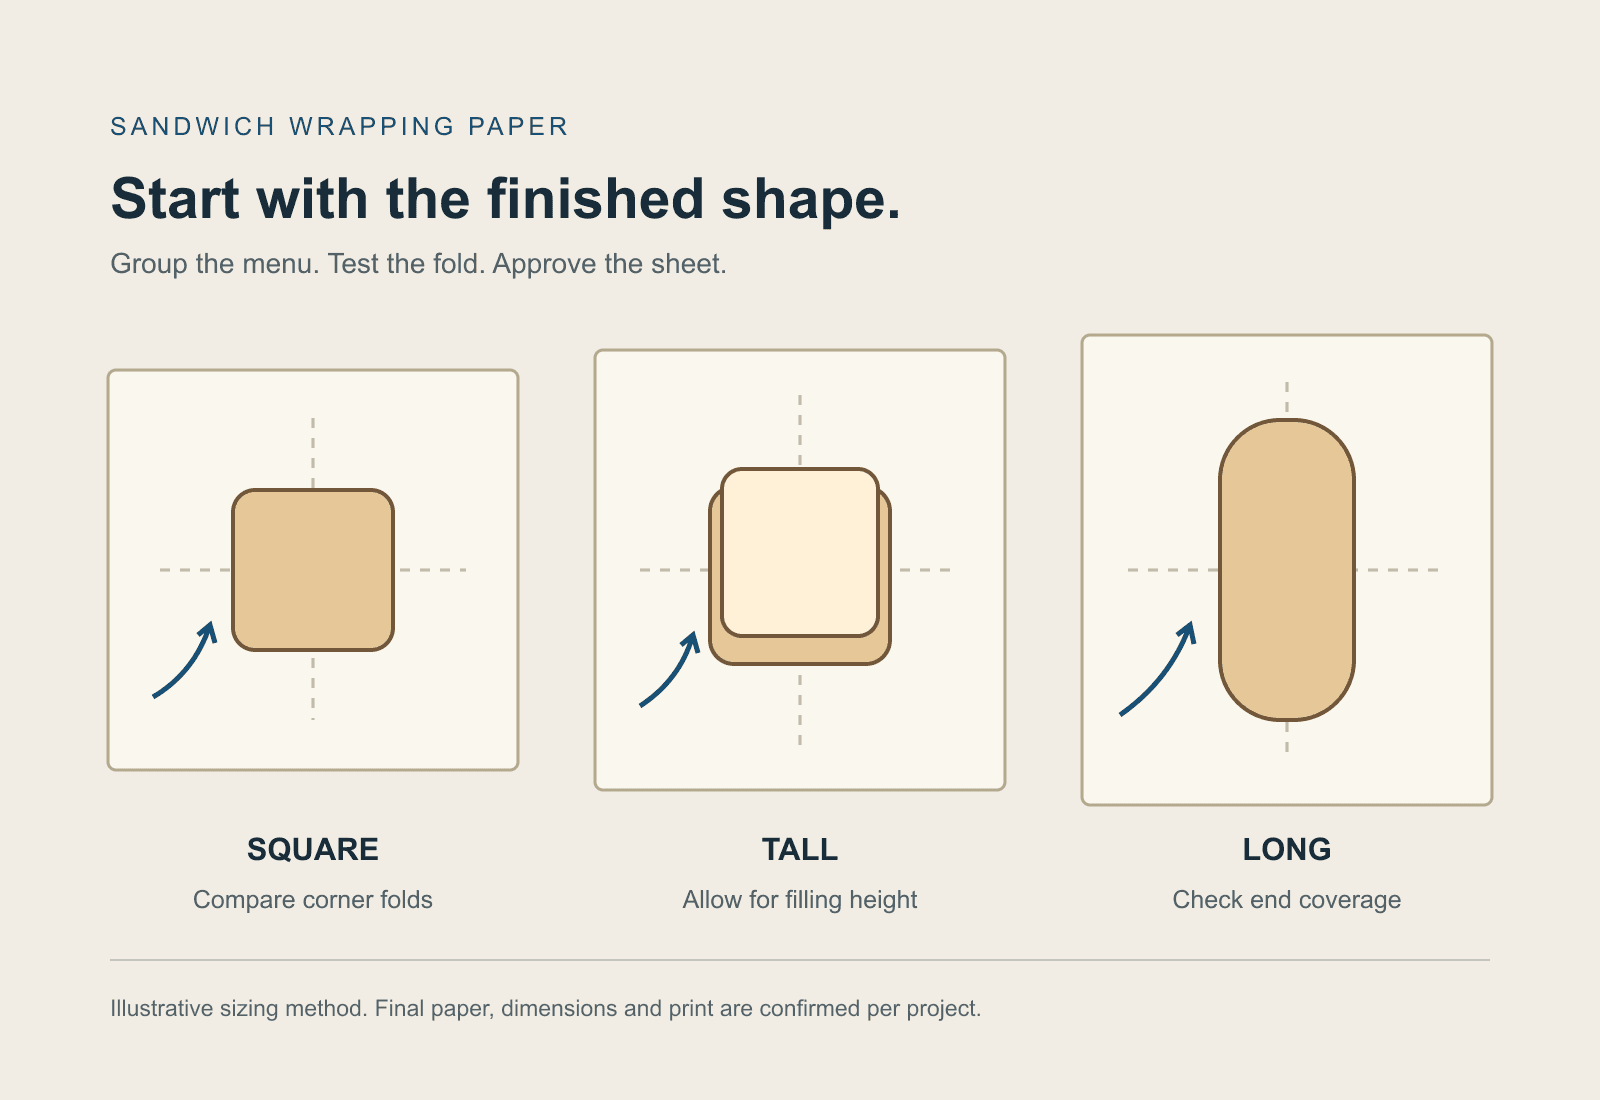
A single sandwich wrapping paper size can simplify purchasing, storage and counter setup. It can also create a poor wrap at both ends of the menu. The sheet that closes neatly around a tall toasted sandwich may leave bulky corners around a slim cold sandwich. A size chosen for a square sandwich may not cover the ends of a long roll using the same folding method.
The useful question is whether the menu contains one wrapping geometry or several. Buyers can answer it with a small group of finished sandwiches, plain paper sheets and a repeatable fold test. The result is an approved size for each genuine menu group, rather than a size copied from another restaurant or selected from the bread dimensions alone.
Group the menu by finished shape
Start with the sandwiches as customers receive them. Ingredient names are less useful than the outside shape that the paper must cover.
Two products may use different fillings but create almost the same wrapped profile. They may belong in one test group. Two sandwiches made with the same bread can behave differently if one has a high filling stack, loose ingredients or a different cut and serving method.
Record the features that change the fold:
- finished length and width;
- maximum height after assembly;
- square, rectangular, round or long profile;
- whole, halved or cut into triangles;
- fillings that extend beyond the bread;
- whether the customer opens the full wrap or eats from a partial wrap.
Then choose representative boundary items. Include the item that is hardest to cover, the item most likely to create excess paper and the main item sold during the busiest service period. A menu with several nearly identical sandwiches may need only one group. A menu combining breakfast muffins, stacked toasties and long subs is more likely to need separate trials.
Do not select a permanent sheet size yet. The first task is to understand how many distinct wrapping problems the menu contains.
Measure the food after assembly
Bread dimensions provide a starting reference, but fillings and final assembly determine the space inside the wrap. Measure each test sandwich when it is ready to pack.
Place the item on the preparation surface in its normal orientation. Record its maximum length, width and height. Photograph it from above and from the side with a ruler or scale reference visible. If the sandwich is cut before wrapping, arrange the portions exactly as staff will wrap them and measure that arrangement.
Also note where the dimensions change during service. A pressed sandwich may leave the grill flatter than it appeared during preparation. A heavily filled sandwich may spread when it is placed on the sheet. Loose toppings can extend into the area needed for the first fold.
The largest measurement does not automatically select the sheet. The fold direction, placement on the paper and required overlap still need to be tested.
Use one repeatable fold for each menu group
Sheet size and fold route are one decision. Changing the fold while comparing sizes makes the result difficult to interpret.
Write down the normal sequence used at the counter. It may include placing the sandwich at a set angle, bringing one paper edge across the food, folding the ends and closing the final seam. A partial hand wrap will use the sheet differently from a fully enclosed takeaway wrap. Two cut halves wrapped together create another layout.
Ask experienced staff to demonstrate the current method. If different employees use different folds, choose the method that the operation intends to standardize before ordering printed sheets. The approved method should remain practical during a busy period as well as during a slow test at a clean table.
Mark the sandwich position and fold sequence on a plain test sheet. That reference keeps the next size trial comparable.
Test candidate sizes with plain paper first
Plain paper mock-ups are useful before material and printing are finalized. Cut several candidate sizes and label each sheet with its dimensions. Use the same sandwich group and fold sequence for every trial.
Begin with a current wrapper that works, if one is available. Otherwise, use a market size only as a trial starting point. Published dimensions show that a format exists; they do not prove that it suits this menu.
For each test, observe:
- whether the first fold reaches its intended position without stretching the sheet;
- whether the ends close without exposing the food;
- how much paper remains at the final overlap;
- whether the corners form cleanly or gather into a thick bundle;
- whether the wrapped item stays stable when lifted and handed over;
- whether the customer can open or hold it in the intended way.
The smallest sheet that closes once is not necessarily the approved size. Repeat the fold with normal variation in food placement and sandwich height. A workable size needs enough tolerance for real service without becoming unnecessarily large.
Read the failure before changing the size
A failed wrap does not always mean that the sheet needs to grow in both directions.
If the final seam does not overlap, check which dimension is short and whether the sandwich is placed correctly. If the ends open, the sheet may lack coverage in one direction, or the end-fold sequence may be inconsistent. If a small sandwich produces large paper knots, the sheet may be oversized for that menu group. If the wrap feels loose even with enough overlap, examine the fold route and food placement before adding more paper.
Tearing or visible staining requires a separate material review. A larger sheet cannot correct a paper structure that is unsuitable for the food conditions. Record the food temperature, oil, sauce, surface moisture and intended holding time, then test the material proposed for the quotation.
Keep a simple trial record with the menu item, finished dimensions, sheet size, sandwich position, fold route and observed failure. Photos of the open sheet and finished wrap make the result easier to compare.
Decide when the menu needs another sheet size
One size is justified when the same fold works across a menu group with reasonable overlap, consistent handling and no excessive paper around the smaller items. This can reduce the number of packs stored at the counter and lower the chance of staff choosing the wrong wrapper.
Standardization stops helping when it creates a recurring compromise. Separate size groups are worth considering when:
- the longest item cannot close without a different fold;
- the tallest item repeatedly pushes open the seam or ends;
- smaller items accumulate enough excess paper to slow folding or create bulky corners;
- cut portions need a different arrangement from whole sandwiches;
- one group uses a partial eating wrap while another requires full enclosure;
- artwork that must remain visible cannot share a reliable folded position.
Name the groups by their actual operational use, such as long sandwiches and square sandwiches, instead of using vague labels such as small and large. Link each group to specific menu items in the packing instructions.
Check the fold during the real service route
After the plain-paper geometry works, repeat the trial with the proposed material under the intended food and holding conditions. Staff should wrap the sandwich at the actual preparation station, place it into the next package used by the operation and hand it over as normal.
A wrapping sheet encloses the finished food through folding. An open-top sandwich paper bag uses a formed opening, width, gusset and usable depth for loading. These formats should not share one sizing method. If the operation wants faster top loading and partial food exposure, compare a formed sandwich bag as a separate packaging option rather than treating it as a folded sheet.
For takeaway orders, place the wrapped sandwich with the other ordered items inside the intended takeaway paper bag. Check that the fold remains closed and that the outer bag arrangement does not crush or unfold the sandwich. The carry bag transports the complete order; it does not replace the food wrap.
A label may identify a menu item or close a fold when that action is part of the approved packing process. Test its location on the actual paper and food condition. Do not use a label to compensate for a sheet that is too small or a fold that does not hold.
Place artwork after the fold is stable
Artwork should follow the approved sheet size and fold route. Print placed on a flat rectangle can disappear under the sandwich, inside the overlap or at a tucked corner.
Wrap a plain sheet using the approved method, then mark three areas on the opened paper:
- zones that remain reliably visible;
- zones that may be covered or folded differently during normal service;
- contact or overlap areas where important information should not be placed without specific review.
A repeating pattern tolerates more variation in food position and folding. A fixed logo, instruction or QR code needs a controlled orientation and a dependable visible panel. Test the printed proof on every menu group assigned to that size.
Also confirm how the sheets will be packed and presented at the station. If the artwork has a clear top and bottom, staff need to pick up each sheet in the correct orientation without adding an awkward step.
Keep an approval record for reorders
The approved sample should be connected to a written specification. Record the finished sheet dimensions, assigned menu group, food arrangement, fold sequence, approved paper and treatment, artwork revision, print orientation and inner-pack format.
Retain photographs of the open sheet, the completed fold and the wrapped item inside its normal outer packaging. When a menu item changes height or presentation, repeat the relevant test instead of assuming the previous size remains suitable.
This record gives purchasing, operations and the supplier the same reference. It also makes a later complaint easier to diagnose because the team can distinguish a size change, material change, artwork change or counter-process change.
What to send for quotation
Prepare a project brief with:
- the menu items assigned to each proposed size group;
- finished length, width and height for the boundary items;
- top and side photographs of the completed sandwiches;
- whole or cut presentation and the intended eating method;
- the current fold sequence or a short video of the wrapping action;
- current and candidate sheet dimensions;
- food temperature, oil, sauce, moisture and expected holding time;
- artwork files and the area that should remain visible;
- flat-stack or other required packing format;
- estimated quantity by size and artwork;
- destination market and required project documents.
Leave material, treatment and print details open when they have not been confirmed. The quotation and sample process should connect those choices to the actual menu and fold test.
Frequently asked questions
Is there a standard sandwich wrapping paper size
Suppliers sell several common sheet dimensions, but a listed size is only a trial reference. Approve the sheet using the finished sandwich, intended fold, required overlap and normal variation at the counter.
Can one sheet size cover both square sandwiches and long subs
It can when both shapes pass a repeatable fold test without incomplete coverage or excessive paper. If they require different placement, fold directions or closure allowances, separate size groups usually produce a clearer operating standard.
Is sandwich wrapping paper the same as a sandwich paper bag
No. A wrapping sheet starts flat and closes through folding. A sandwich paper bag is already formed and is selected by its opening, width, gusset and usable depth. Compare them by the actual packing motion rather than by the word sandwich.
Should artwork be approved before the sheet size
Only a provisional layout should be prepared before sizing. Approve the sheet and fold route first, then place important artwork in areas that remain visible on the completed wrap.
What should be included in a sandwich wrap sample test
Use representative finished sandwiches, the planned fold, normal counter handling and the intended holding and takeaway route. Record overlap, end closure, excess paper, handling, surface condition, print visibility and pack orientation.
Prepare the menu test before requesting a quote
Send Xucheng the sandwich groups, finished measurements, current wrap photos, fold method, candidate sheet sizes, service conditions, artwork, packing preference, quantities and destination market. These details allow the project to be reviewed around the menu that staff actually wrap.
In Project Details, specify Sandwich Wrapping Paper Sheets and describe the menu groups you want to test.