
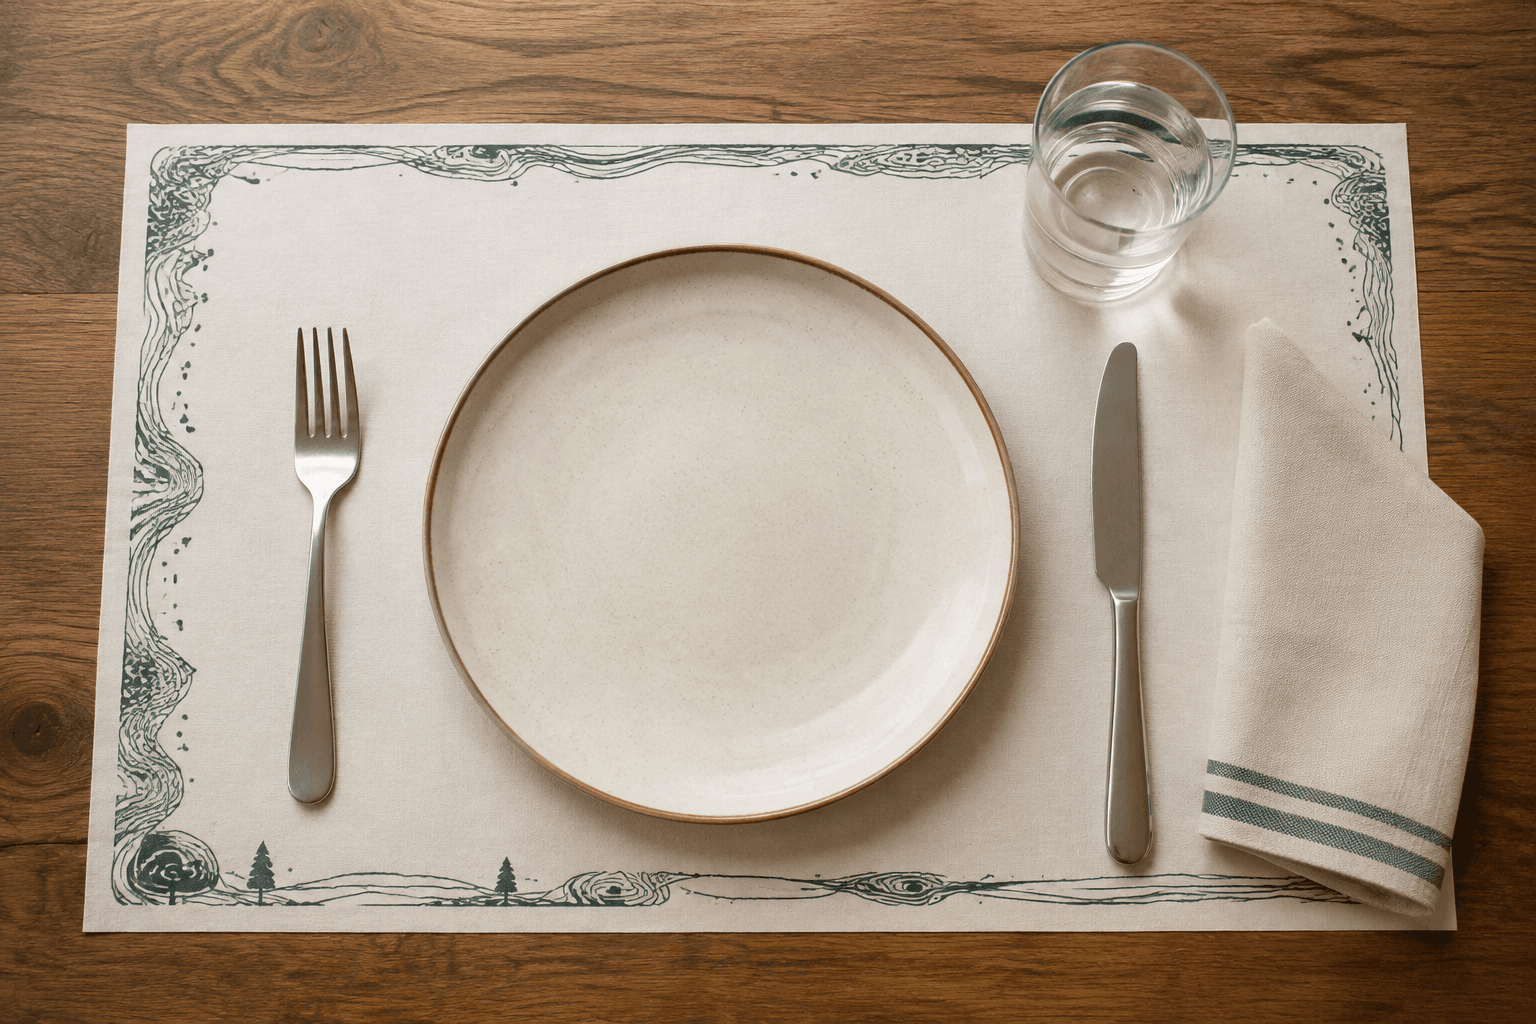
A paper placemat is not approved when the artwork fits a rectangle on screen. It is approved when the finished sheet works at a real restaurant table after the plate, cutlery, napkin, drink and shared tabletop items are in place.
That distinction changes the specification process. A sheet can look generous when measured alone but crowd the next seat on a small table. A logo can be positioned correctly in the file and then disappear beneath a plate. A QR code can scan during a desk review and become unreachable once a glass is placed over it.
The practical buying task is therefore to approve one occupied place setting. The steps below keep size, artwork and table-reset handling tied to the way the placemat will actually be used.
Start with one seat, not a standard sheet size
Measure the usable tabletop area assigned to one diner. Do not use the full table width divided by the number of seats without checking what else occupies the table. Condiments, shared dishes, menu holders and the gap between neighboring diners all reduce the space available to each placemat.
Set the smallest table in the venue as staff normally would. Include the largest plate or bowl used for the relevant service, the normal cutlery arrangement, a napkin and the drink vessel. If side plates, shared dishes or a condiment caddy are part of the real setup, add them too.
Then place a plain paper rectangle beneath the setting. Check four boundaries:
- Does the sheet hang over the guest edge of the table?
- Does it collide with the placemat or cutlery at the next seat?
- Does it extend into the shared center zone?
- Does the main plate remain fully inside the intended visual area?
The answer may be different for a two-seat table and a tightly arranged four-seat table. When a restaurant uses several table formats, the approved size should be tested on the most restrictive layout rather than only on the largest table.
Map the occupied and visible zones
Once the outside dimensions are workable, trace the actual setting onto the full-size mock-up. Mark the plate footprint, cutlery, napkin, glass or cup and any object that regularly remains on the table.
These marks divide the placemat into three useful areas:
- Occupied zones: content placed here will usually be hidden.
- Partly visible zones: patterns can continue through these areas, but important messages may be interrupted.
- Reliable visible zones: suitable for a logo, short message, menu cue, activity or QR code that must remain readable.
View the sheet from the seated guest's position, not only from directly above. Type that is readable on a designer's monitor may be too small or too far away at the table. A QR code needs enough clear space around it and must remain uncovered in the normal setup.
Also confirm orientation. If staff can place the sheet in either direction during a fast reset, an artwork that has a clear top and bottom may be positioned incorrectly. The remedy may be better pack orientation, a visual placement cue or a layout that tolerates rotation. The choice should match the real reset process.
Give the placemat one primary communication job
A printed placemat can frame the place setting, carry menu information, present a promotion or provide an activity. These are different jobs. Giving all of them equal weight often produces a crowded sheet with no clear reading order.
Choose the primary job before final artwork begins.
For a brand-led placemat, decide which part of the identity must remain visible around the plate. For a placemat menu, define the reading sequence and control which information can change. For an activity sheet, check the usable drawing area and the writing tool guests will use. Temporary promotions may be better placed on a table card or a controlled digital page if the base placemat will remain in stock for longer.
This decision also affects version control. If prices, languages, QR destinations or campaign dates appear on the placemat, record an artwork code and approval date. Packing identification should make different versions distinguishable during storage and table setup.
Describe how guests and food will interact with the sheet
The supplier needs the use conditions before a paper and print specification can be reviewed. Describe what will touch the placemat and what the diner is expected to do with it.
Useful project questions include:
- Will the sheet sit only beneath plates and cutlery, or will unpackaged food touch it directly?
- Will guests write or draw on it?
- Is a cold drink likely to remain on one printed area?
- How long does a normal dining session last?
- Is the placemat removed after one guest or used for another defined service process?
Do not infer direct-food-contact suitability from the product name or an image. If unpackaged food will touch the paper, identify the food, contact area, serving conditions and destination market. Ask the supplier which paper, print specification and supporting documents apply to that quoted use.
When writing is part of the placemat's job, test the intended pencil, crayon or pen on the actual printed sample. A paper that accepts one tool may behave differently with another. Record the tool in the approval notes instead of relying on “writable” as a general description.
Approve a full-size printed sample at the table
The approval test should reproduce one real service cycle.
First, place the printed sample on the selected table and arrange the complete setting. Sit in the guest position and check the content hierarchy. Confirm that the logo, message, menu information or activity remains visible where intended. Scan any QR code from the normal seating distance.
Next, observe physical handling. Check whether the sheet lies flat after removal from its pack, whether its edges interfere with the diner or neighboring setting and whether the print is oriented correctly. If the project expects contact with a cold drink, writing tool or minor tabletop moisture, reproduce only those stated conditions and record what happens.
Finally, clear and reset the table as staff normally would. The stack should be presented in a way that lets staff separate and orient each sheet without unnecessary handling. If two-sided printing is proposed, identify the exact moment the reverse side becomes useful. Printing a hidden second side without a service purpose adds complexity but not decision value.
Record the approved sample with its finished dimensions, paper and print reference, artwork revision, printing sides and packing identification. A photograph alone is not a complete reorder record.
Keep the placemat separate from nearby paper formats
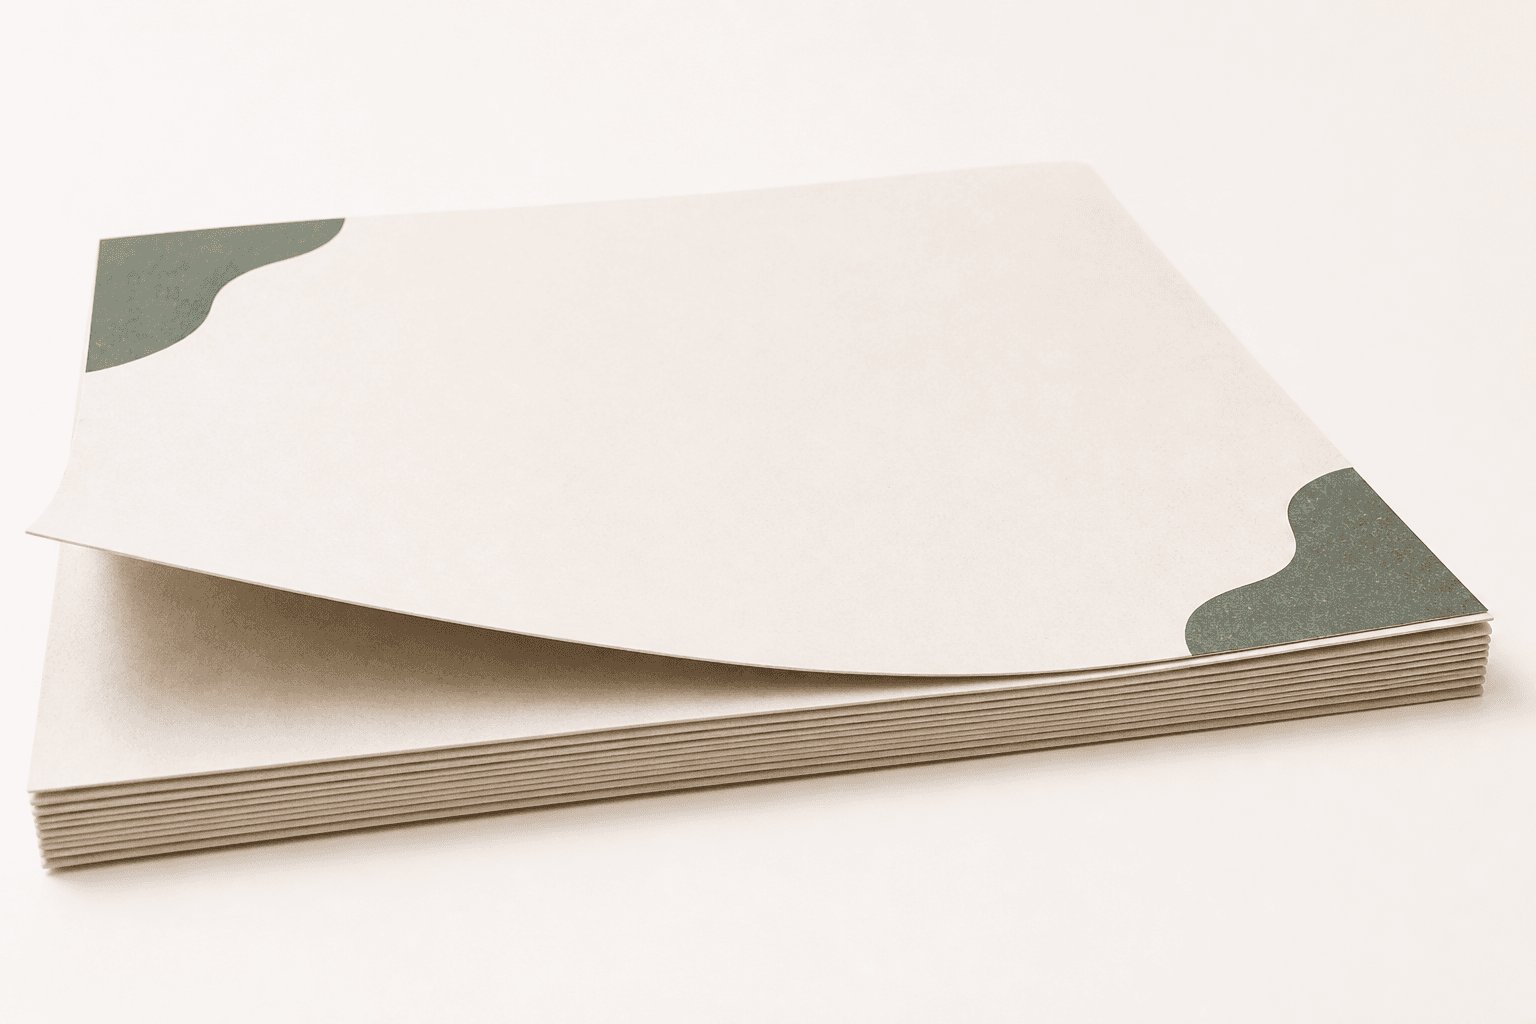
A paper placemat lies directly on the table and defines one diner's setting. A paper tray liner is sized to the usable area inside a reusable serving tray. A basket liner sits inside a food basket. A table runner or table cover occupies a wider shared area. These products can all be flat paper sheets, but their dimensions, contact conditions, artwork orientation and handling are not interchangeable.
If the paper belongs inside a serving tray, use the separate paper tray liner sizing guide. If one sheet needs to span the shared tabletop, plan it as a runner or cover. If the main job is wrapping or separating food rather than defining a table setting, review the deli paper sheet format as a different buying task.
The product name should follow the real use. This makes the quotation more accurate and prevents a tabletop placemat from being approved with a tray-liner test.
What to send for quotation
Prepare a short project brief containing:
- a top-down photograph of the complete occupied place setting;
- the usable width and depth for one diner;
- the proposed finished placemat dimensions;
- the primary communication job;
- the visible print zones or a marked full-size mock-up;
- whether one or both sides require printing;
- whether guests will write or draw on the sheet;
- whether unpackaged food may touch it and under what conditions;
- quantity by artwork version;
- packing and version-identification needs;
- destination market and current artwork files.
If the paper choice, print method or supporting documents are not yet known, leave them open for supplier review rather than inserting an unverified specification.
Frequently asked questions
Is there one standard size for disposable restaurant placemats?
Market products use several common formats, but no single size fits every table and place setting. Approve the finished dimensions against the smallest relevant table, the full plate-and-cutlery layout and the space shared with neighboring diners.
Is a paper placemat the same as a tray liner?
No. A placemat sits on the tabletop for one dining position. A tray liner is fitted and tested inside a serving tray. Their size references, contact conditions and artwork orientation are different.
Can the placemat also carry a menu?
It can, but menu content creates a version-control task. Names, prices, languages, QR destinations and campaign dates need an approval owner, an artwork revision and a plan for removing obsolete stock.
Should the artwork be tested before quotation or after?
Build a plain full-size layout before locking the finished size. After the supplier proposes a paper and print specification, approve a printed sample under the same occupied-table and service conditions before the final order decision.
What changes if food will touch the paper directly?
Direct contact becomes a separate project condition. State the food, contact area, serving conditions and destination market, then confirm which quoted paper, printing specification and documentation apply. Do not assume that a tabletop placemat is automatically suitable for direct food contact.
Plan the occupied setting before the artwork is locked
Send Xucheng the table dimensions, a top-down photograph of the complete setting, the proposed sheet size, artwork purpose, printing sides, expected guest interaction, contact conditions, quantity by version and destination market through the quote form. These inputs allow the project to be reviewed around a real table setup instead of an isolated paper rectangle.